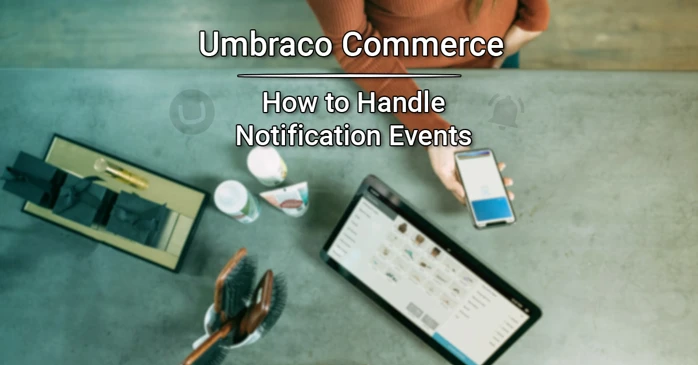
We have taken a look at the differences between Events & Notifications in a previous blog, as well as Creating, Sending & Handling custom Notifications in Umbraco, but today we'll be taking a look at Umbraco Commerce, and how you can utilize its' various events to extend upon actions performed by Commerce, let's go! 🛒
What are Notifications?
Let's start with a quick recap by answering, what are Notifications? In short, they're events that are fired either immediately before or after an action or change has occurred, that you can extend upon to perform certain actions whenever said events take place. In a basic Umbraco installation, you have Notifications for events like Content Publishing, Media Saved, or Member Deleted. With Umbraco Commerce installed however, we get a couple more to add to our list! As per version 13.0.0 Umbraco Commerce has the following Notifications:
- Country: Created, Deleted, Saving, Saved & Updated
- Discount: Saving & Saved
- Email: Failed, Sending & Sent
- Gift Card: Saving & Saved
- Order: Creating, Created, Deleting, Deleted, Saving, Saved, Updating & Updated
- Region: Creating, Created, Saving, Saved & Deleted
- Stock: Creating, Created, Changing, Changed, Deleting & Deleted
- Store: Saving, Saved, Updating & Updated
- Tax Class: Saved
Now let's put them to good use! 🔥
Notification Handlers
As still the case per Umbraco Commerce 13.x, Notification Events function slightly different then the vanilla Umbraco way of handling notifications. Instead of the default INotificationHandler class, Umbraco Commerce makes use of it's own base class called NotificationEventHandlerBase<T>, where T is the Notification we wish to register. Let's take a look at the code example below:
Within the snippet you can see two example NotificationHandlers, each inheriting from a different Notification implementation in the Base class. With this we can override the Handle method to implement our own logic. The OrderCreatedNotification for example gives us a ReadOnly version of the newly created Order, with all the Order information stored within it like the Order Number, Order Lines, and Pricing! Imagine hooking this up to a third party order management tool, or perhaps a dashboard to display sales?
After we have created the NotificationHandlers, we will have to register them! We can do this by either adding the .AddUmbracoCommerce method line to the Startup.cs class, or by creating a Composer class which exposes the IUmbracoBuilder and registering our handlers from there (the preferred method)!
Within the AddUmbracoCommerce method we can extend upon the IUmbracoCommerceBuilder configuration and register our own Notification Handlers with their corresponding Notifications... and that's it! Whenever Umbraco Commerce fires one or more of its various events, your custom NotificationHandlers will catch said event and execute your code!
Conclusion
Umbraco Commerce Notifications differ slightly from the vanilla Umbraco counterparts, but are just as easy to implement! With a single composer & notification handler you'll be up and running in no time, and are able to expand upon all the various notifications that Commerce has to offer! 🚀
As of today there's still a discussion going on on GitHub to allow you to compose notifications like you would vanilla Umbraco notifications, so that third-party applications can register notifications as well without having to call the AddUmbracoCommerce method, see keep an eye out for that!
If you have any further questions, feel free to contact me over at my socials available at the Contact page, and I'd love to hear about the amazing creations you're able to come up with! 😄
Sources used in this article:
Umbraco Documentation, https://docs.umbraco.com/umbraco-commerce/key-concepts/events#notification-events