Umbraco has officially released it's Umbraco 9 Beta version last week based on .NET Core (.NET 5), and that can only mean one thing... Linux support! And with Linux support, the first thing that comes to my mind is Docker! In this blog, you will learn how to get started with Umbraco 9, and how to develop & run your Umbraco solution from within Docker (Including SQL Server)! 🐋
Getting started with Umbraco 9
To get started with Umbraco 9, we'll be following the official Umbraco guide available at Umbraco.com, but here's a short summary for you! (Credits to Bjarke Berg over at Umbraco)
To use the new beta release, we will need to insert a custom NuGet feed to our NuGet sources. This can be done by running the following command in a command prompt of your choosing:
'dotnet nuget add source "https://www.myget.org/F/umbracoprereleases/api/v3/index.json" -n "Umbraco Prereleases"'
Once this feed is available as a NuGet source, we can install the new Umbraco dotnet template:
'dotnet new -i Umbraco.Templates::9.0.0-beta001'
Now that the Umbraco template is available, you can create a new empty Umbraco project:
'dotnet new umbraco -n MyCustomUmbracoSolution'
We will be using the project name 'MyCustomUmbracoSolution' for the rest of this guide, but you can change it to whatever you like!
In CLI the project can be built by navigating to the newly created folder and running the build command:
'cd MyCustomUmbracoSolution'
'dotnet build'
At this point, the project is ready to be executed:
'dotnet run'
This will boot the project, and write the log to the console. The website is now running on the Kestrel server, it will be available on the ports written in the console.
We will not simply be running Umbraco 9 on our own system though! We are here to run it using Docker! 🐋
Getting started with Docker
We now have our basic Umbraco 9 solution setup. Let's create the docker configuration files to run our solution in Docker!
We start off by creating the Dockerfile, the file Docker will use to build, restore and publish our project solution. We will be placing this file one step higher in the file system than the solution itself.
What happens in this script? Let's walk through it step by step:
- We start by using the dotnet 5.0 SDK image
- We copy our solution from the filesystem into Docker, into a folder called "/sources/"
- We add the prelease NuGet feed to dotnet so we can restore the solution from inside Docker
- We build and publish the solution to the "/output/" folder
- We copy the published solution to a dotnet 5.0 runtime image
- We set the default entry point for our application (running our built .DLL using dotnet)
- We copy the 'wait-for-it.sh' script to our image (we'll get to this part later!)
In and by itself, this is all we need to get a working Docker Image up and running for Umbraco 9! We are going to take it one step further though, by setting up an additional image for SQL Server, and configuring Docker Compose to run both containers at the same time!
Docker Compose
To make our workflow easier to ship and manage, we'll be using a docker-compose.yml file to not only build & run our Umbraco image, but also run SQL Server in a Docker container! For this, we will be using the following docker-compose file:
Here we define our two services:
- The umbraco-netcore service, which is the image we previously defined in our Dockerfile.
- The umbraco-db service, which uses the latest official mssql 2017 image from Microsoft.
Between the two services we define a volume for the umbraco-db service so that we have some persistent storage of our database!
In the umbraco-db service, we also configure an environment file for MSSQL to use, which contains our accepted EULA, and the password for our database user! For this we will be creating a new folder called "configs", in which we create a file called 'ms.sql.env'. For this demonstration, we'll use the following contents for the .env file:
SA_PASSWORD=EncryptedPassword123!
ACCEPT_EULA=Y
Make sure to change this password to a strong password of your choosing!
Wait-For-It
Now there's just one more addition we'll be making before we're able to run our application, and that's the addition of the 'wait-for-it.sh' script. Using Docker-Compose, both our SQL Server and Umbraco instance boot up at the same time when we run the 'docker-compose up' command. For Umbraco to run however, we need to be certain SQL Server is up before we boot up Umbraco! To guarantee this, we will be using the wait-for-it script, which waits until a specified TCP IP & Port is available before launching the rest of our application! You can download the script over at the following GitHub Repository:
https://github.com/vishnubob/wait-for-it/blob/master/wait-for-it.sh
Our folder structure should now look something like this:

Umbraco 9 - Docker Filesystem
Let's run our application! Open a terminal of your choosing in the folder shown above, and run the command:
'docker-compose up' (or docker-compose up -d to have it run detached from our terminal)
This will start the process of downloading the required images, building and publishing our Umbraco solution, running SQL server, and after that, running Umbraco itself! Once everything is completed succesfully, we can head over to localhost:8080 in our browser, and we'll be greeted with the following Umbraco installation screen:
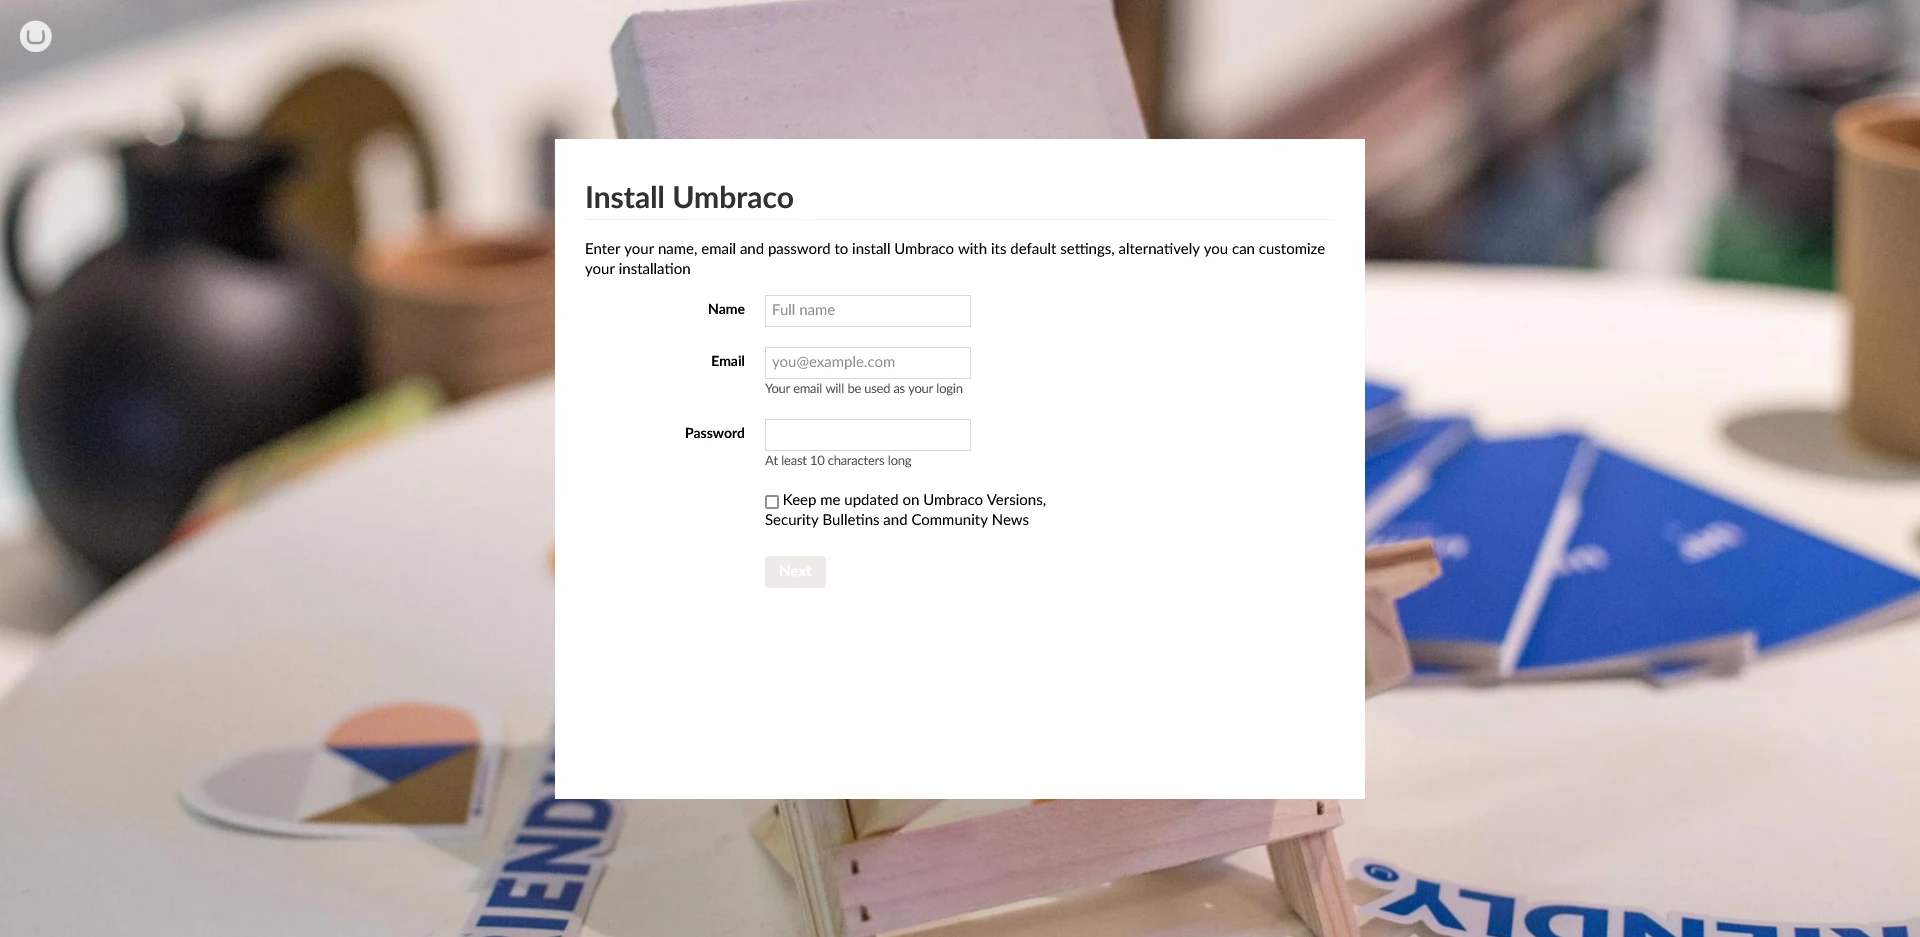
Umbraco 9 Installer - Step 1
Fill in the credentials with which you want to be able to login to Umbraco with, and then click on "Next". We will then configure Umbraco to connect with our new SQL container:
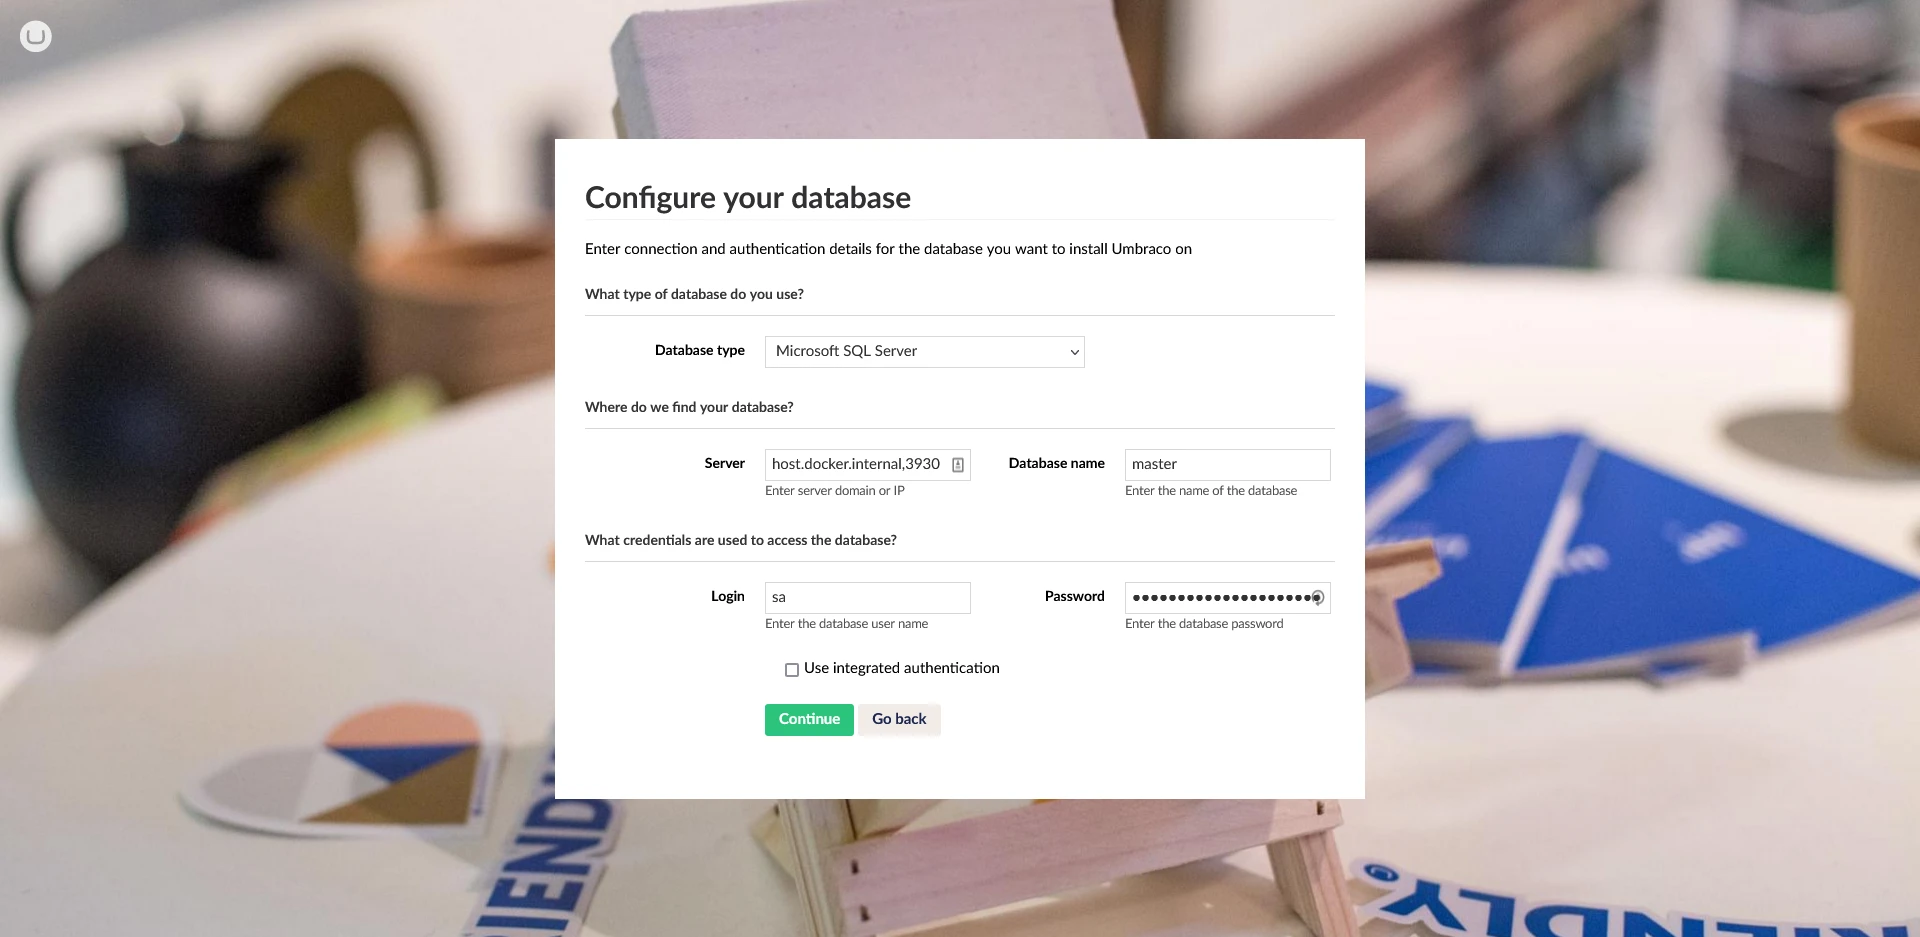
Umbraco 9 Installer - Step 2
For this guide, we'll be using the following inputs:
- Database type: Microsoft SQL Server
- Server: host.docker.internal,3930
- The internal IP address our Umbraco container can use to connect to our SQL Container
- Database name: master
- The default database SQL Server generates for us
- The default database SQL Server generates for us
- Login: sa
- Password: EncryptedPassword123!
- The password we specified in our ms.sql.env file
When we click on Continue, Umbraco will configure all it's settings and connectionstrings, and reboot once it is complete!
Head back over to localhost:8080/umbraco, login with the credentials we specified in step 1 of the installation process, and we will be greeted with our very first Umbraco 9 application, running inside of our Docker Container!
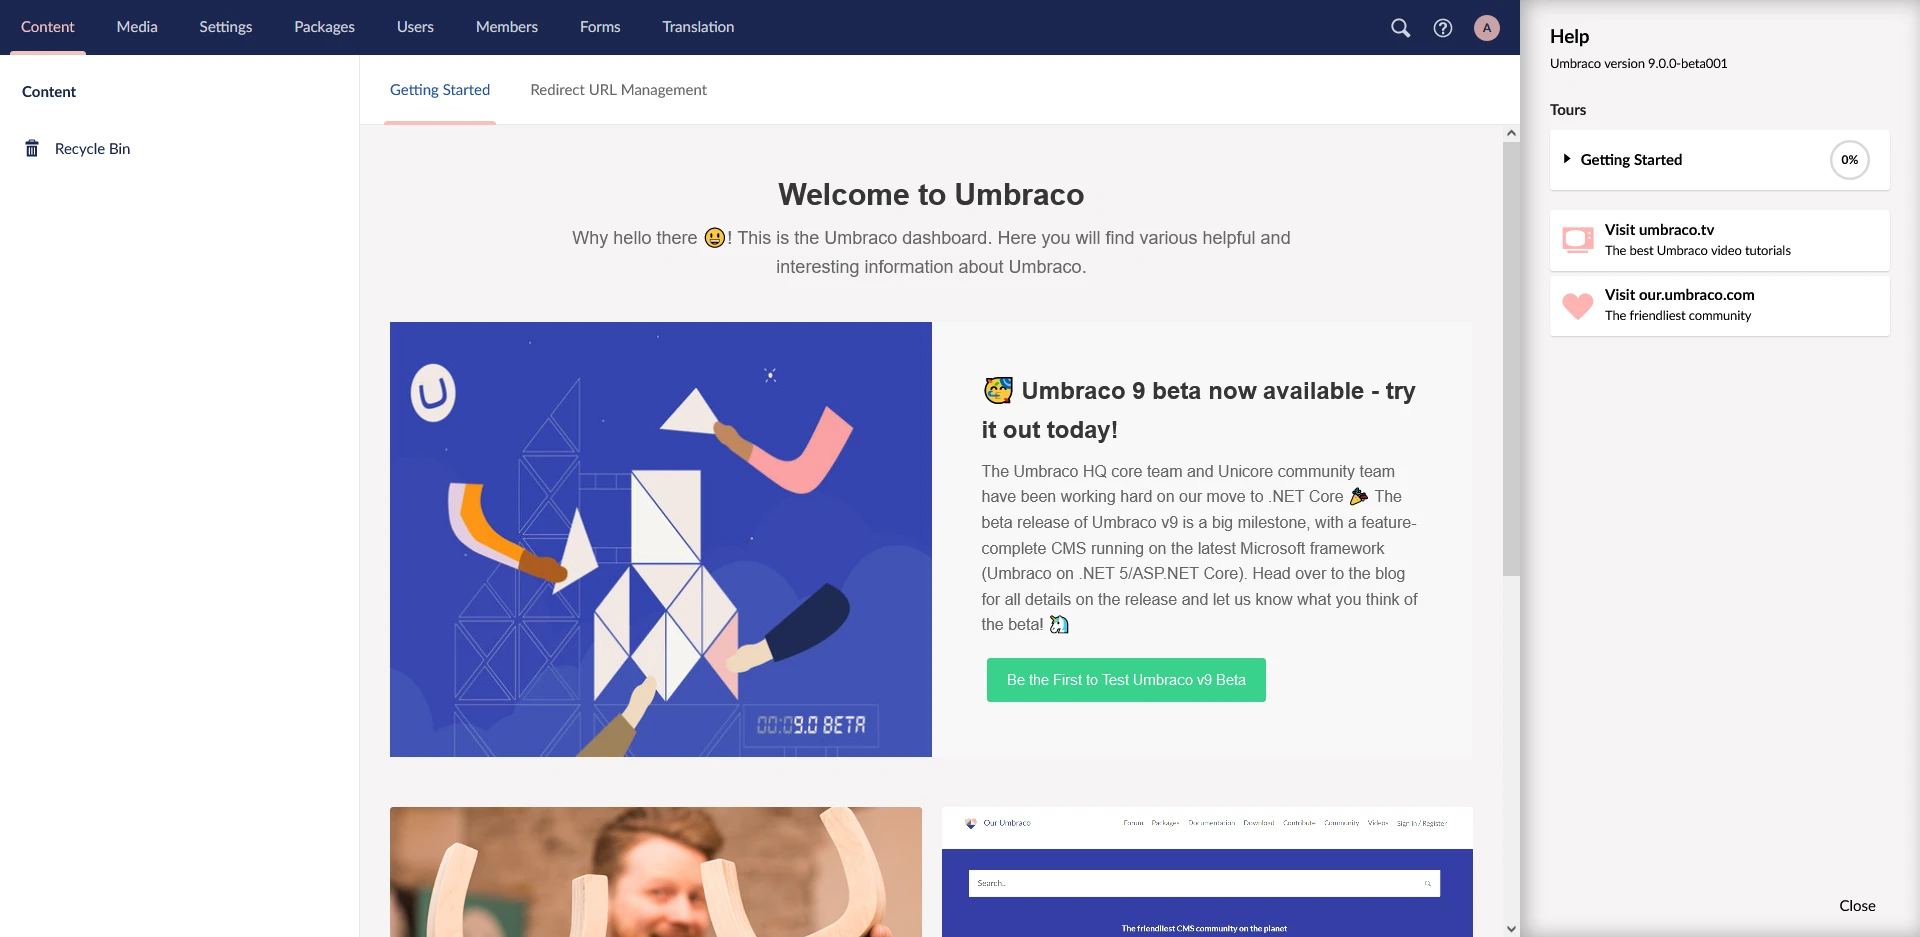
Umbraco 9 - Umbraco Backoffice
🎉 Congratulations, you've successfully installed Umbraco 9 within Docker! 🔥
Conclusion
This article shows the process of creating a fresh install of Umbraco 9 based on the Umbraco 9 Beta template, creating and configuring the docker files so that we can build, publish and run our application inside of docker, and setting up docker-compose so that we not only run Umbraco 9, but also SQL Server alongside it!
If you have any further questions, feel free to contact me over at my socials available at the Contact page, and I'd love to hear about the amazing creations you're able to come up with, with this setup!
Authors note: This article is written based on an experimental version of Umbraco. Use this information on your own risk. I do not recommend using this exact setup to run in a production environment.
Troubleshooting
Having trouble accessing your Umbraco instance? Try adding the following lines of code to your Program.cs file to specify the URLs the application should listen to!
Sources used in this article:
Umbraco 9 Beta Release, https://umbraco.com/blog/umbraco-9-beta-release/
Umbraco-core-docker-example, https://github.com/thecogworks/umbraco-core-docker-example
Creating a .NET 5 Core app in Docker, https://keepinguptodate.com/pages/2020/12/net5-aspnet-docker-mac/
Dotnet Templating, https://github.com/dotnet/templating#overview
Wait-for-it.sh, https://github.com/vishnubob/wait-for-it/blob/master/wait-for-it.sh
5 ways to set the URLs for an ASP.NET Core app, https://andrewlock.net/5-ways-to-set-the-urls-for-an-aspnetcore-app/